Hello, photography enthusiasts! Have you ever captured a moment and then felt disappointed with the image’s lack of clarity and sharpness? In this guide, we will explore the secrets of Image Clarity Increaser and how it can transform mediocre pictures into stunning masterpieces. Get ready to learn the step-by-step process of using this powerful tool to enhance the quality of your images.
I. How to use Clarity Increaser?
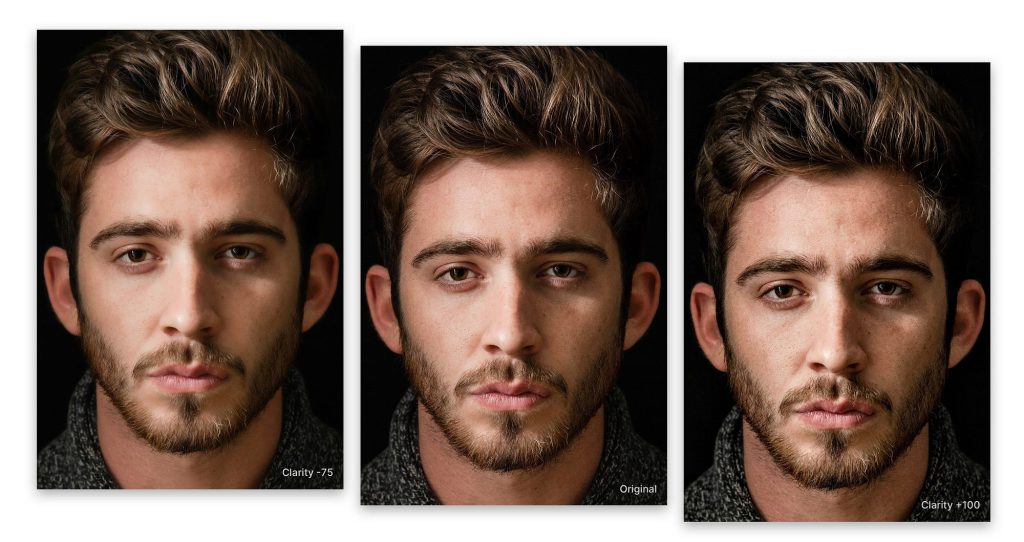
Photography is an exciting art form that captures emotions, memories, and stories. However, even the most talented photographers sometimes find their images less sharp, precise, or impactful. Fortunately, advanced tools like Image Clarity Increaser can help elevate the quality of your pictures by revealing intricate details and enhancing visual impact.
Step 1: Choosing a Reliable Image Clarity Increaser
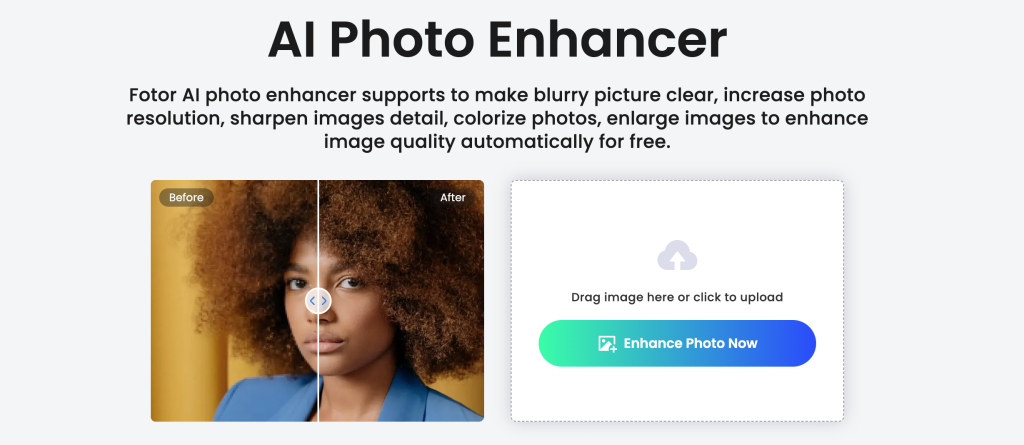
Choosing a reliable and trustworthy tool is the first step in improving your image clarity. Look for tools that use advanced algorithms to enhance your images while maintaining their natural beauty. You can read user reviews and research to help you decide on your suitable device.
Step 2: Uploading Your Image
Once you have chosen your preferred tool, go to its official website and click the “Upload” or “Enhance” button. This will take you to a dialogue box where you can select the image you want to enhance. Choose an idea that has the potential to highlight the clarity and sharpness you want to achieve.
Step 3: Customizing Enhancement Settings
Before you start the enhancement process, take some time to customize the settings according to your preferences. Some Image Clarity Increaser tools offer options to adjust parameters like sharpness, contrast, and color saturation. Experiment with these settings to find the perfect balance that enhances your image’s clarity while maintaining a natural appearance.
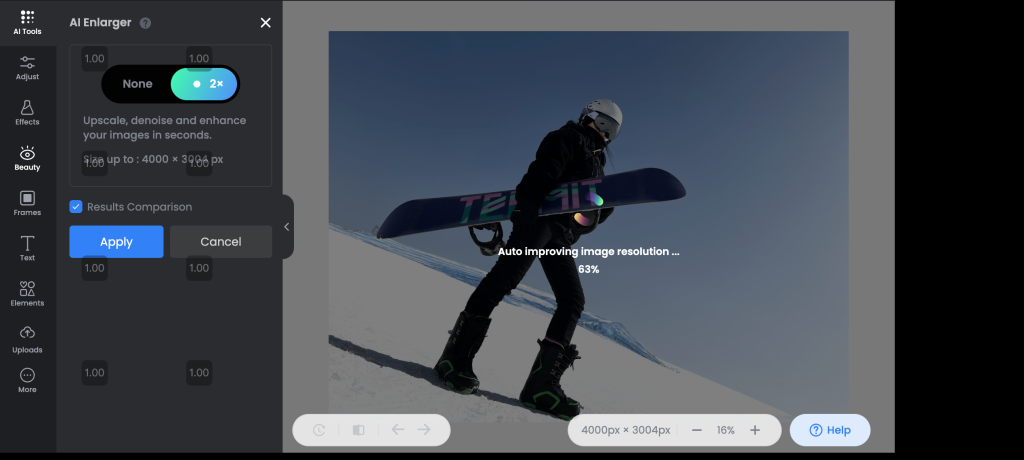
Step 4: Starting the Clarity Enhancement Process
Start the clarity enhancement process with your desired settings in place by clicking the “Enhance” or “Process” button. The Image Clarity Increaser tool will analyze your image, enhancing details, minimizing blurriness, and revealing hidden nuances. The process duration will depend on the size and complexity of your image.
Step 5: Downloading Your Enhanced Image
After the clarity enhancement process is complete, you will see the enhanced version of your image. Take a moment to appreciate the amplified visual clarity and sharpness. If you are satisfied with the results, click the “Download” button to save the enhanced image to your device.

With its advanced algorithms and customizable settings, you now have the power to transform mediocre images into stunning masterpieces. However, Fotor charges a monthly plan fee for its use, so if you wish to use the free Clarity Increaser, consider the ImageEnhan Clarity Increaser as an alternative.
II. How to Use the ImageEnhan Clarity Increaser?
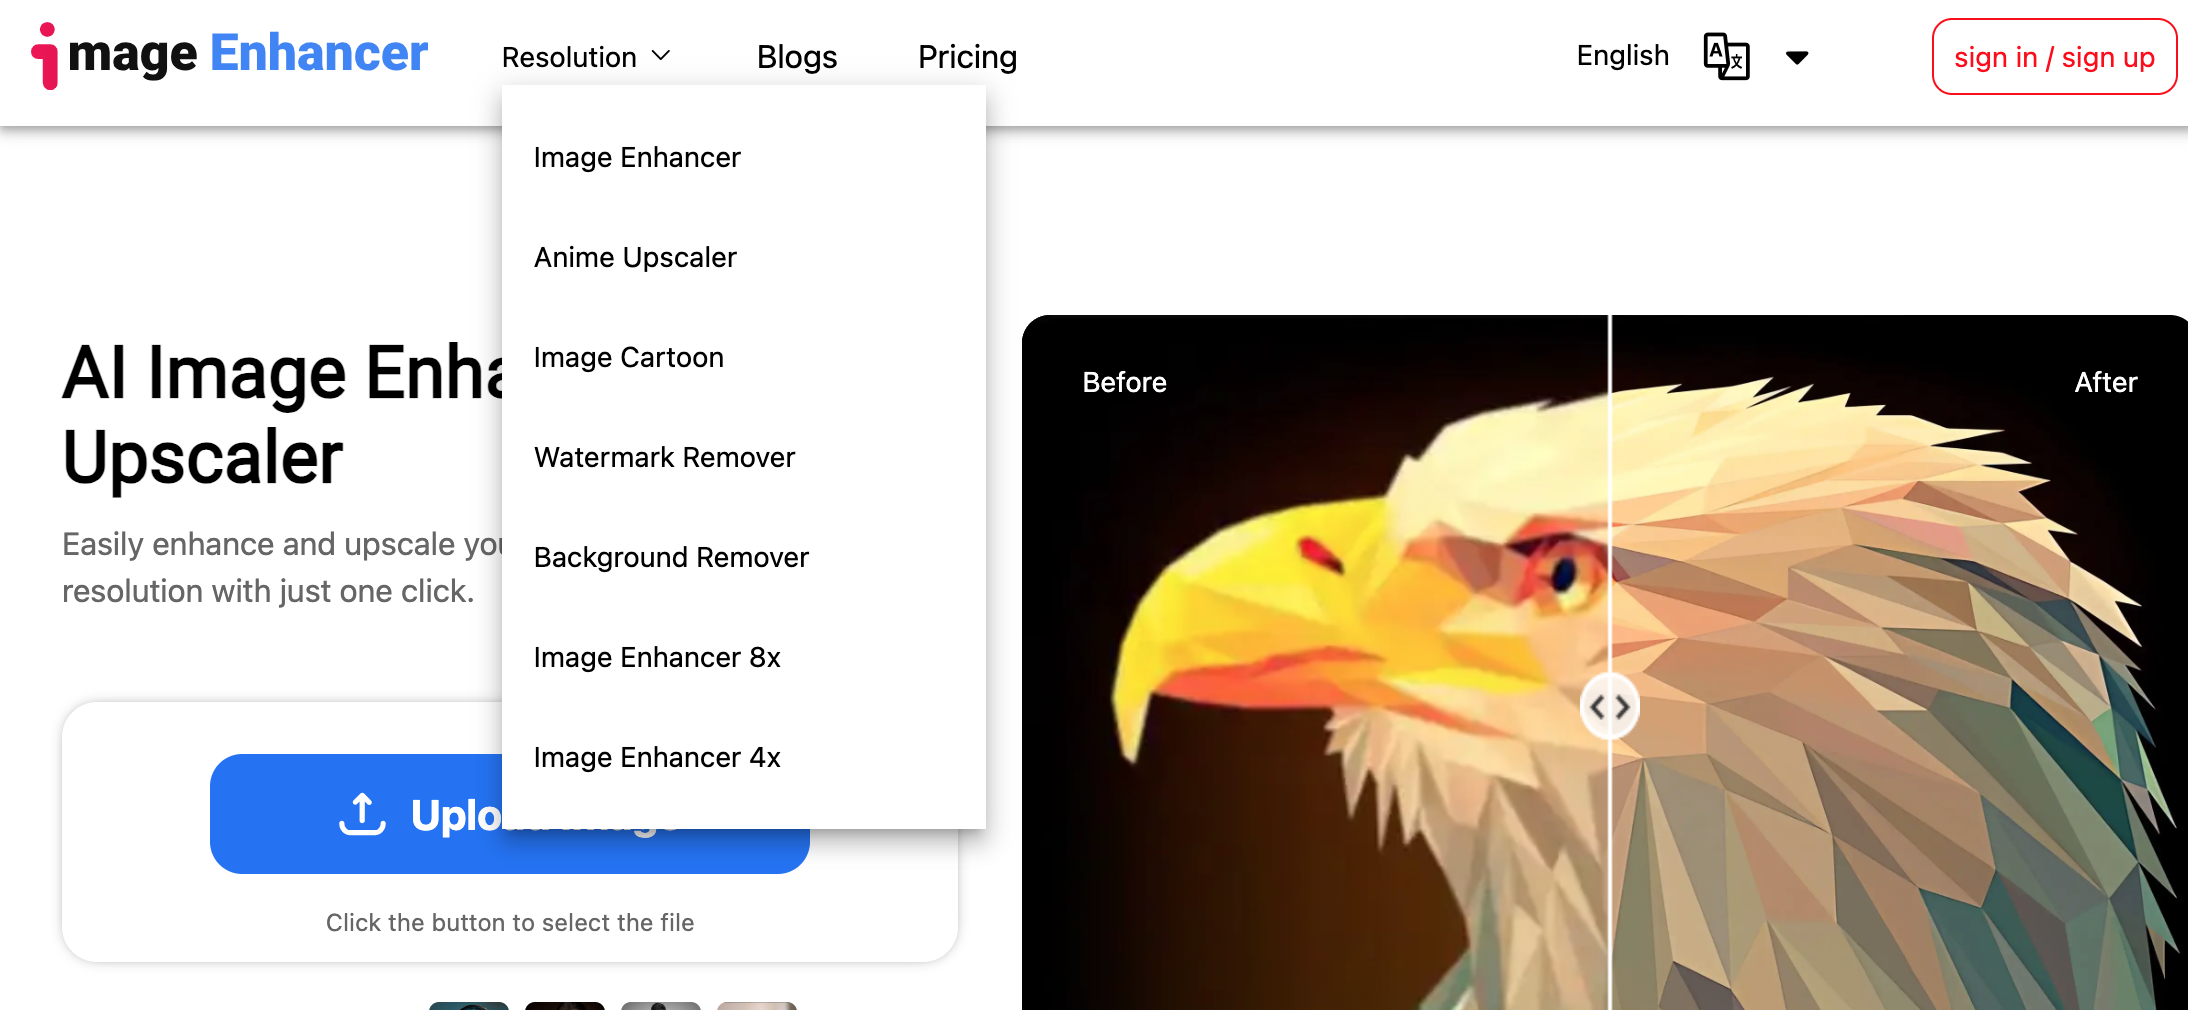
Firstly: Access to ImageEnhan website
- Open your web browser and go to the ImageEnhan website by entering the following URL: https://www.imageenhan.com/image-enhancer.
- Once the website loads, you will be greeted with a user-friendly interface.

Secondly: Select enhancement options.
- Click on the “Resolution” button located on the homepage. You will see a number of enhancement options.
- Explore the available enhance options, such as “2x”, “4x”, “8x”.
- Select the required download option by clicking on the appropriate checkbox.
Thirdly: Upload your image
- Click on the “Upload Image” button located on the homepage.
- A file explorer window will allow you to select the image you wish to enhance from your computer.
- Select the desired image and click “Open” to upload it to the ImageEnhan platform.

Fourthly: Start the enhancement process.
Depending on the size and complexity of the image, the enhancement process may take a few seconds to complete.
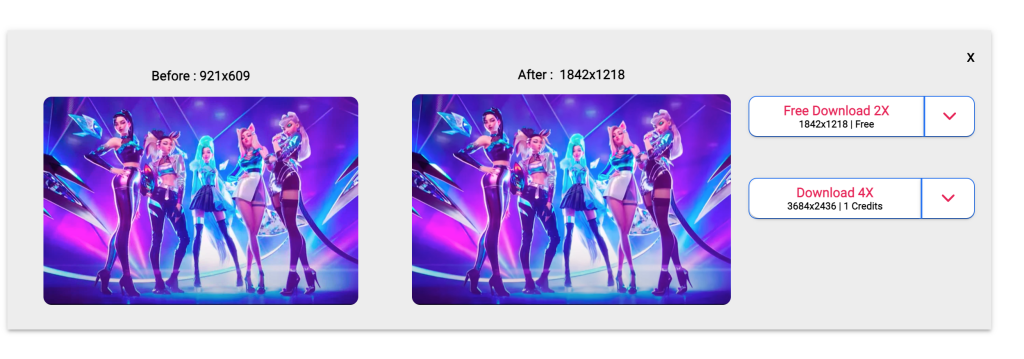
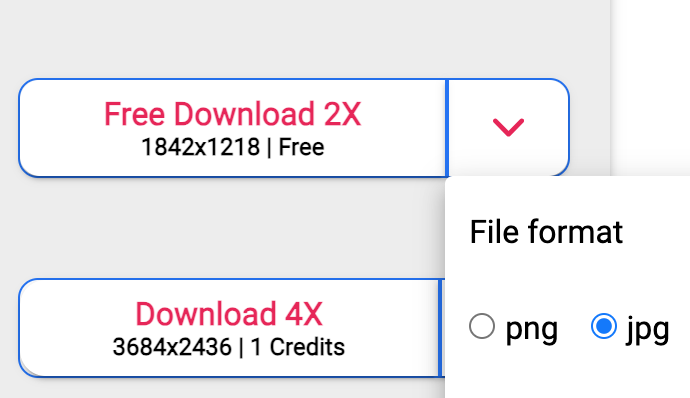
Finally: Download the enhanced image.
- The enhanced image will appear on the screen when the enhancement process is complete.
- Explore the available download options.
- Select a location on your computer where you would like to save the enhanced image and click ‘Save’.
II.Benefits of Using Imageenhan Online Free AI Clarity Increaser
Discover the Power of imageenhan – Enhanced by PicUP.Ai, a respected pioneer in AI driven graphics design and computer vision technology. In imageenhan AI Photo Enlarger you can:
1. Unleash the Brilliance of Your Images – Experience Crystal-Clear Details
imageenhan is an unparalleled image enhancer that brings out the best in your pictures. With cutting-edge technology, this platform lets you witness every intricate detail with utmost clarity, ensuring your images shine like never before.
2. A Remarkable Image Enhancer for Everyone – Elevate Your Photos in an Instant
No matter your skill level, imageenhan is here to revolutionize your photo editing experience. Seamlessly enhancing pixelated, blurry, and low-quality photos, this online image enhancer is perfect for printing, social media, marketing campaigns, presentations, and a myriad of other purposes. Say goodbye to subpar visuals and hello to stunning, professional-grade images in just a few clicks.
ImageEnhan offers you an easy-to-use platform to enhance your images online free of charge. You can take full advantage of the image enhancement feature on the ImageEnhan website by following the steps outlined in this tutorial. Try different enhancement options and settings to improve the visual appeal of your images and achieve the desired results.
This guide has helped you learn how to enhance your image quality using Image Clarity Increaser. Please let me know if there is anything specific you would like me to emphasize or modify to better suit your preferences.